
Quick Start Guide
This guide gets you from sign-up to your first release as fast as possible — so you can start planning your next drop.
1. Create your account
Section titled “1. Create your account”Sign up at app.releaseloop.com using your email or sign in with Google or GitHub. After verifying your email, you’ll be taken through the onboarding flow.
2. Set up your workspace
Section titled “2. Set up your workspace”During onboarding, you’ll:
- Name your workspace — use your label name, management company, or artist project name so your team knows where they are
- Select your role — label, artist manager, artist, distributor, PR/marketing, or other
- Add your first artist — search Spotify to pull in their profile photo, monthly listeners, and popularity score automatically, or create the profile by hand
- Create your first release — give it a title, assign your artist, set the release date, and pick the format (single, EP, or album)
3. Build out your release
Section titled “3. Build out your release”Once your release is created, the release detail page is your command center. Use the tabs to fill in everything you need before your distributor deadline:
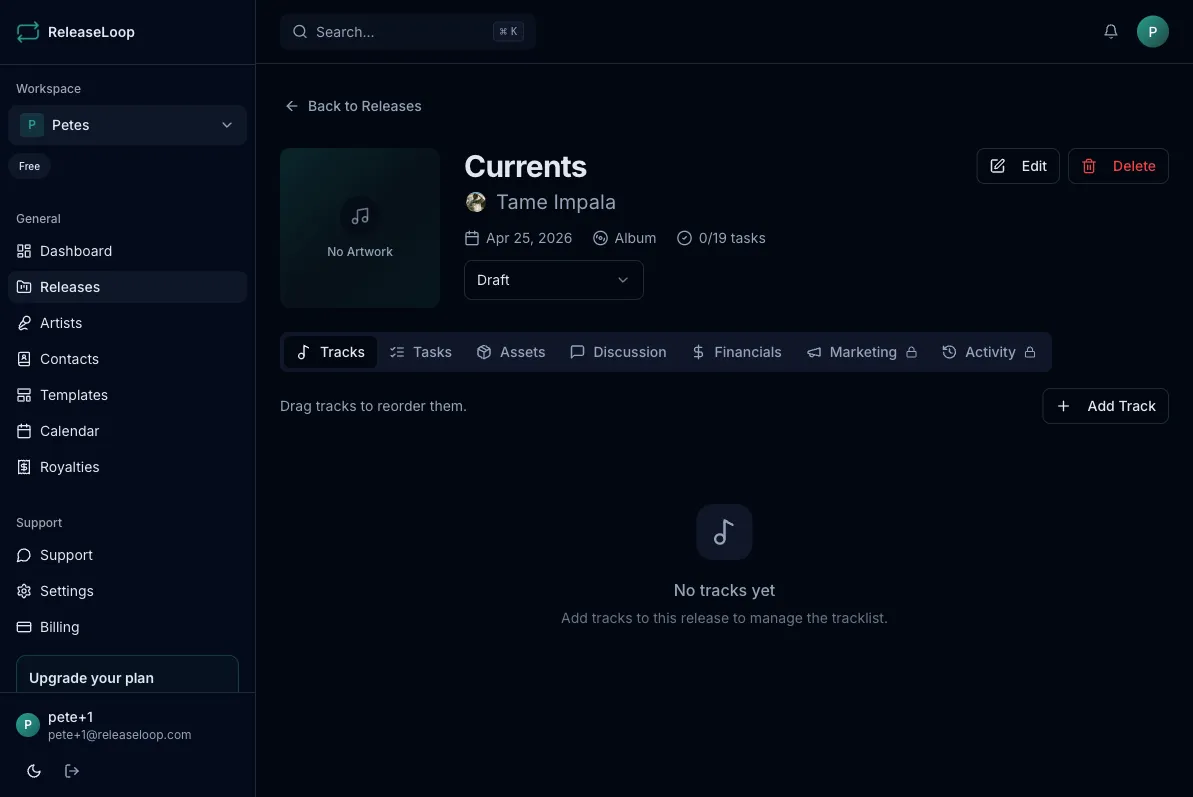
| Tab | What it does |
|---|---|
| Tracks | Add each song with its ISRC code and artist credits — essential for matching royalties later |
| Tasks | Build your release checklist: submit to distributor, pitch to Spotify editorial, send press servicing, schedule social content, set up pre-save link |
| Financials | Set a release budget and track expenses like mixing, mastering, artwork, and PR costs |
| Marketing | Plan your rollout — playlist pitches, Instagram Reels, TikTok teasers, press outreach, and anything else in your campaign |
| Assets | Upload cover artwork, press photos, and stems, or connect Google Drive for your existing folders |
| Comments | Discuss the release with your team — tag your A&R or marketing lead to get sign-off |
4. Invite your team
Section titled “4. Invite your team”Go to Settings > Team Members and invite collaborators by email. Whether it’s your label partner, a marketing intern, or your artist’s manager — assign roles to control what each person can see and do.
5. Explore more features
Section titled “5. Explore more features”- Use Templates to save your go-to release checklist and reuse it every time you set up a new single or album campaign
- Check the Calendar for a timeline view of all your upcoming releases — helpful when you’re spacing out drops across your roster
- Import Royalty CSVs from your distributor (DistroKid, TuneCore, CD Baby, or others) to track revenue by release and see what you owe your artists
- Build EPKs as polished public profiles you can send to promoters, booking agents, and press
For a detailed walkthrough of each onboarding step, see Onboarding Walkthrough.