
Team Members & Roles
ReleaseLoop is built for teams. Invite your A&R, marketing, publicists, and management staff into your workspace so everyone works from the same release schedule and artist roster.
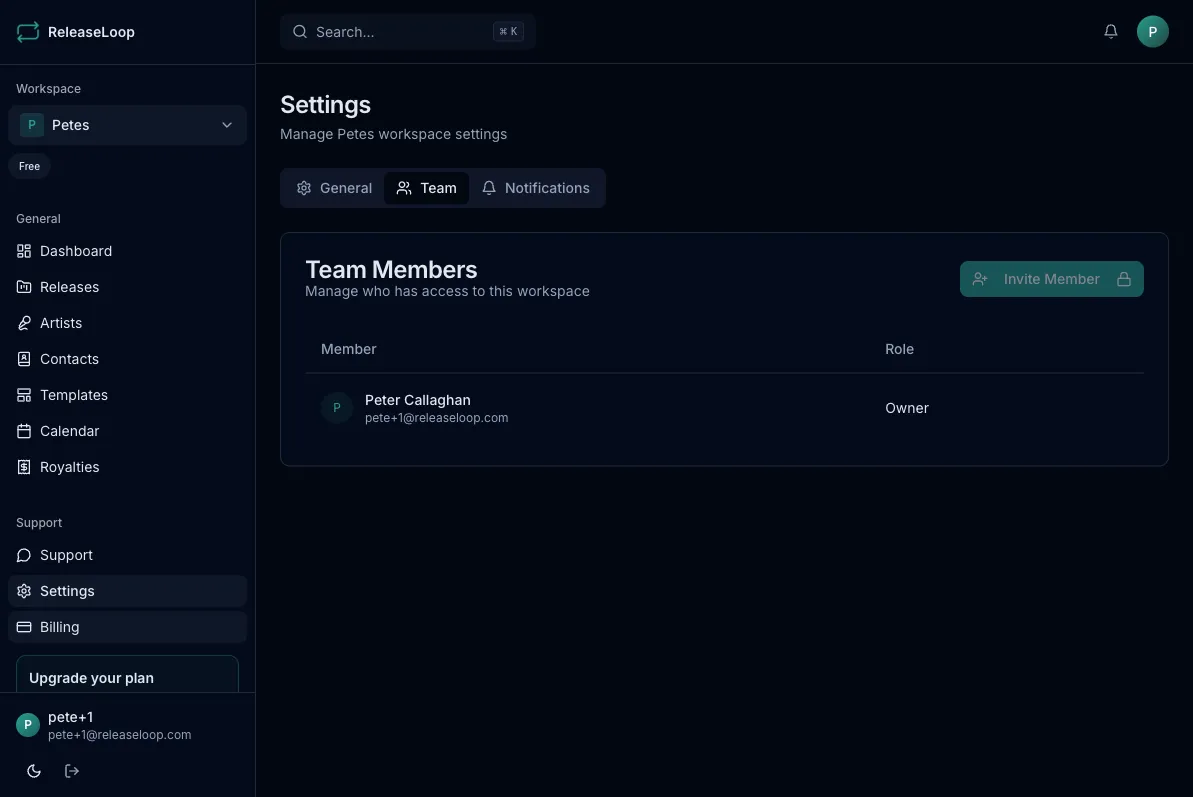
Inviting team members
Section titled “Inviting team members”- Go to Settings > Team Members
- Click Invite Member
- Enter their email address
- Select their Role (what they can do)
- Set their Access — either Entire workspace or Specific artists (see Artist access below)
- They will receive an email invitation to join your workspace
You can also generate a shareable invite link — useful when onboarding a new hire or bringing a freelance publicist into the workspace.
Each team member is assigned a role that controls what they can see and do. This lets you give your A&R team access to releases without them seeing financials, or let your publicist manage marketing activities without touching release metadata.
| Role | What they can do |
|---|---|
| Owner | Full control — billing, team management, all features. Typically the label owner or lead manager. |
| Admin | Manage releases, artists, contacts, and team members. Your operations lead or label manager. |
| A&R | Manage releases and artists. Perfect for A&R reps who need to update metadata, manage tracks, and work with the roster. |
| Marketing | Manage marketing activities. Your publicist, social media manager, or promo coordinator only needs this. |
| Member | View access with basic edits. Good for interns, consultants, or anyone who needs visibility without full control. |
Artist access
Section titled “Artist access”Role controls what a member can do. Access controls which artists they can see. The two are set independently, so you can give someone a powerful role over a narrow slice of your roster.
Every member or invitation has one of two access scopes:
| Access | What they see |
|---|---|
| Entire workspace | The full artist roster and every release, contact, and financial in the workspace (subject to their role). |
| Specific artists | Only the artists you assign them, plus the releases and related data attached to those artists. The rest of your roster is hidden. |
When you choose Specific artists during invite (or when editing a member), an Artists picker appears — select one or more artists to grant access to. Artist-limited members see a trimmed sidebar, artist list, and search, scoped to just their assigned artists.
This is built for collaborators you do not want to expose to the whole catalogue: a tour manager or day-to-day manager for one act, a freelance publicist working a single campaign, or an A&R contact tied to one signing. Access is enforced on the server, not just hidden in the interface.
You can change a member’s access at any time from Settings > Team Members — switch between Entire workspace and Specific artists, or adjust which artists are assigned.
Managing members
Section titled “Managing members”From Settings > Team Members you can:
- View all current members, their roles, and their artist access
- Change a member’s role — e.g., promote someone from Member to A&R as they take on more responsibility
- Change a member’s access — switch between Entire workspace and Specific artists, or update assigned artists
- Remove a member from the workspace — they immediately lose access to all data
- See pending invitations
- Revoke unaccepted invitations
Seat limits
Section titled “Seat limits”The number of team members depends on your plan:
| Plan | Seats |
|---|---|
| Solo Lifetime | 1 |
| Label Lifetime | 3 |
| Agency / Pro Lifetime | 10 |
If you need more seats than your plan includes, you have two options:
- Buy additional seats. Lifetime workspaces can purchase extra team seats as a one-time add-on from the Billing page — pick a quantity, see your projected seat limit, and check out. No plan change needed.
- Upgrade your plan. Moving to a higher tier raises the included seat count along with all other limits. See Plans & Pricing.
Joining via invitation
Section titled “Joining via invitation”When someone receives an invite:
- They click the link in the invitation email (or the shareable link)
- If they do not have a ReleaseLoop account, they create one
- They are added to the workspace with the assigned role
- The workspace appears in their workspace switcher — they can start working immediately